DIY Tips for Simple Concrete Floor Polishing
DIY Tips for Simple Concrete Floor Polishing
Polished concrete floors are a popular choice for both residential and commercial spaces due to their durability, low maintenance, and modern aesthetic appeal. While professional polishing services are available, many homeowners and DIY enthusiasts opt to tackle the task themselves to save on costs. If you’re considering polishing your concrete floor, here are some DIY tips for simple concrete floor polishing to help you achieve a professional-looking finish.
1. Prepare Your Space
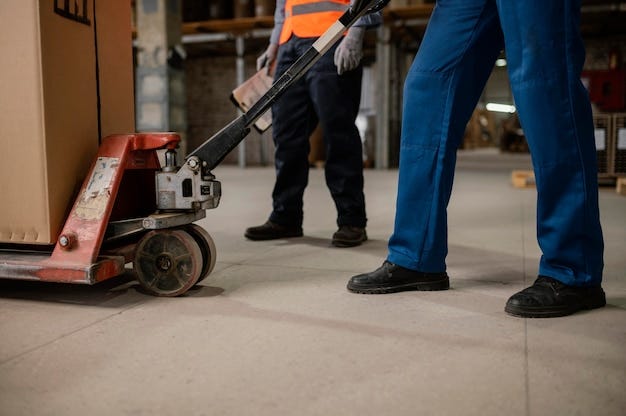
Before you begin the polishing process, it’s essential to prepare the area properly. Start by clearing the room of all furniture, rugs, and other items. Sweep the floor thoroughly to remove dust, dirt, and debris, and mop it to ensure the surface is clean. If there are any existing coatings or sealants on the concrete, you’ll need to remove them using a chemical stripper or a floor grinder. Proper preparation is key to achieving an even and smooth finish.
2. Repair Cracks and Imperfections
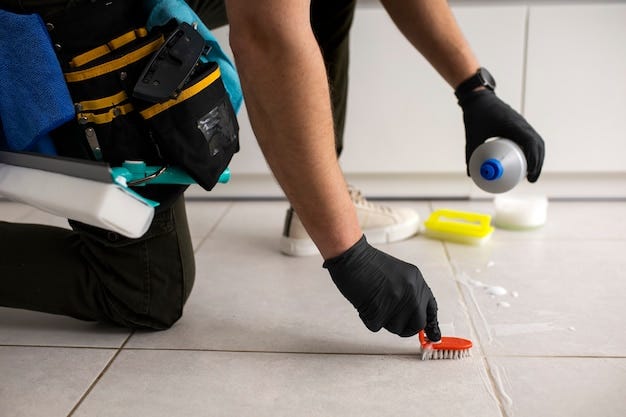
Inspect the concrete surface for any cracks, holes, or imperfections. These should be repaired before you start polishing to ensure a smooth, flawless finish. Use a concrete patching compound to fill in any cracks or holes. Follow the manufacturer’s instructions for drying times, and make sure the patched areas are level with the rest of the floor before moving on to the next step.
3. Choose the Right Equipment
Polishing concrete requires specific equipment, including a concrete grinder or polisher with diamond polishing pads. These pads come in different grit levels, ranging from coarse to fine, and are used in succession to achieve the desired level of polish. For a DIY project, you can rent a concrete grinder from a local hardware store. Make sure to choose the appropriate grit pads based on the condition of your floor and the level of shine you want to achieve.
4. Start with Coarse Grit
Begin the polishing process with a coarse-grit diamond pad, typically around 40 to 60 grit. This step is known as the grinding phase and is used to remove surface imperfections and expose the concrete’s aggregate. Move the grinder in a consistent, overlapping pattern to ensure even coverage. It’s important to take your time during this stage, as it lays the foundation for the rest of the polishing process.
5. Progress to Finer Grits
After completing the initial grinding, switch to finer grit pads to begin the actual polishing process. Start with an 80-grit pad, and gradually work your way up through 150-grit, 200-grit, and eventually up to 400-grit or higher, depending on the level of shine you desire. The finer the grit, the smoother and shinier the concrete will become. Continue using the same consistent pattern, and make sure to vacuum or sweep the floor between each grit change to remove dust and debris.
6. Apply a Concrete Densifier
To enhance the durability and hardness of the polished concrete, apply a concrete densifier after you’ve finished with the medium-grit polishing. A densifier is a chemical solution that penetrates the concrete surface, filling in pores and making the concrete more resistant to staining and wear. Follow the manufacturer’s instructions for application and drying times. Once the densifier is fully absorbed and dry, you can proceed with the final polishing steps.
7. Finish with a High-Gloss Polish
For a high-gloss finish, use a very fine grit pad, typically 800-grit or higher, for the final polishing stage. This step will give the concrete a mirror-like shine that enhances its visual appeal. If you prefer a matte finish, you can stop at a lower grit, such as 400 or 600, depending on your preference. The key to achieving the desired finish is patience and consistency in the polishing process.
8. Seal the Concrete
Once you’ve achieved the desired level of polish, it’s important to seal the concrete to protect it from stains, moisture, and wear. Choose a high-quality concrete sealer that suits the level of gloss you want — either matte, satin, or gloss. Apply the sealer evenly across the floor using a paint roller or sprayer, and allow it to dry completely before moving furniture back into the space.
Conclusion
Polishing concrete floors is a manageable DIY project that can transform the look of your space with minimal effort and expense. By following these simple DIY tips for concrete floor polishing, you can achieve a professional-quality finish that enhances the beauty and durability of your floors. Whether you’re polishing a garage, basement, or living room floor, the result will be a stunning, low-maintenance surface that adds value and style to your home.
For More Info : —
Concrete Polishing Services In Christchurch
Concrete Floor Polishing In Christchurch


Comments
Post a Comment